
Charcoal Burning
Next to the Bodger’s Area in our woodland is a charcoal kiln that is used to make charcoal that is sold in our shop.
The History of Charcoal Burning in the Chilterns
Charcoal burners and their apprentices have been part of British Woodlands since before the Bronze Age. In fact, it was charcoal that enabled tin & copper to be smelted together to create the bronze which defined the age. The basic methods changed very little until the recent introduction of metal kilns like the one at COAM.
Charcoal burning was an important industry in the Chilterns for many centuries, supplying the essential fuel for Ironworking in the area. We continue that tradition by burning charcoal in a metal kiln in the Museum’s woodland.
How Charcoal is Made at the Museum

We start by making bridges of wood across the bottom of the kiln. This ensures there is good air flow. Then we place the not quite charcoaled wood from the previous burn onto the bridge.
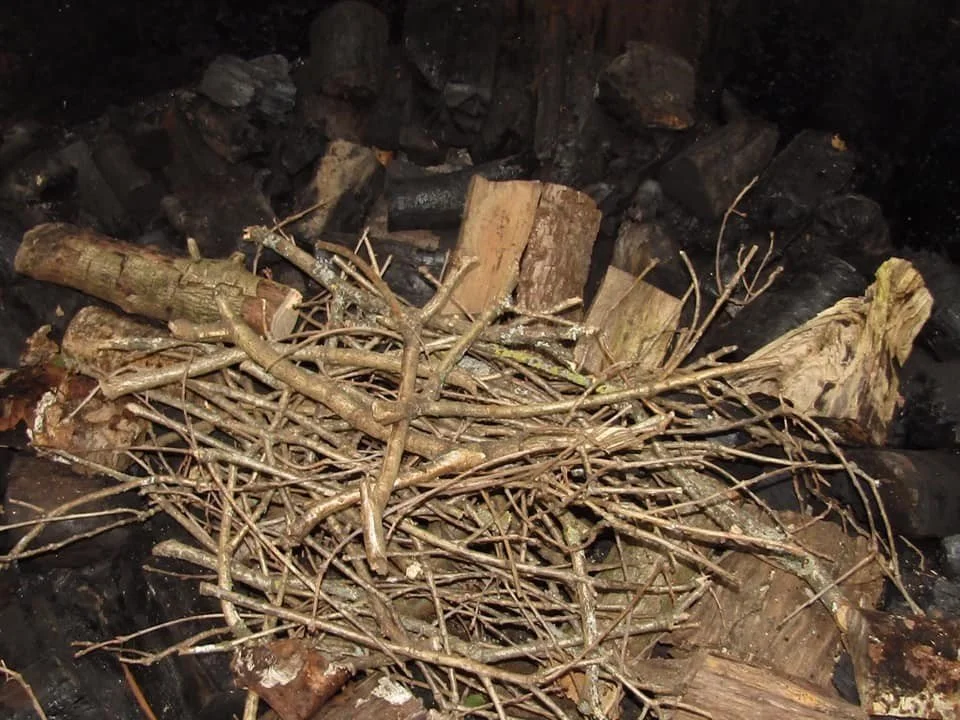
On top goes some smaller bits of chopped wood and dry brash.

Then you can begin to fill the kiln with chopped, dry wood.

Once the kiln has been filled the lid is replaced and some longer lengths of wood are used to prop the lid open to encourage air flow. The kiln is then lit by using a pole, a rag and some paraffin.

The kiln soon begins to smoke.
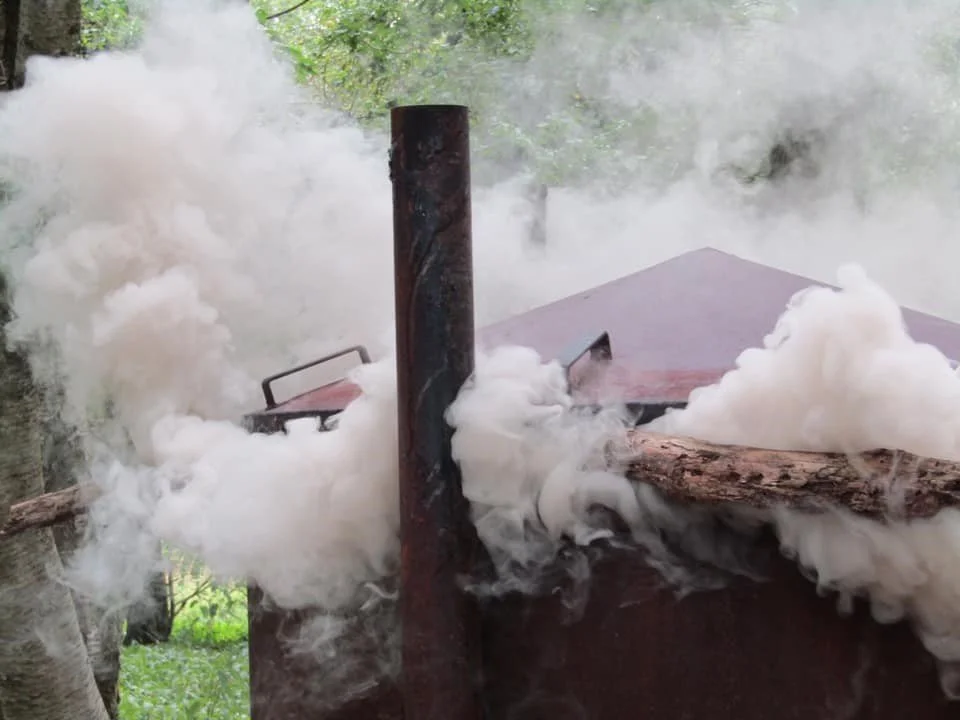
At first, the smoke is thick. For the first hour or so the kiln will continue to be smoky.

After an hour, the wood propping the lid open are removed as the kiln becomes fully lit. We now have to work quickly to pack and keep in the heat.

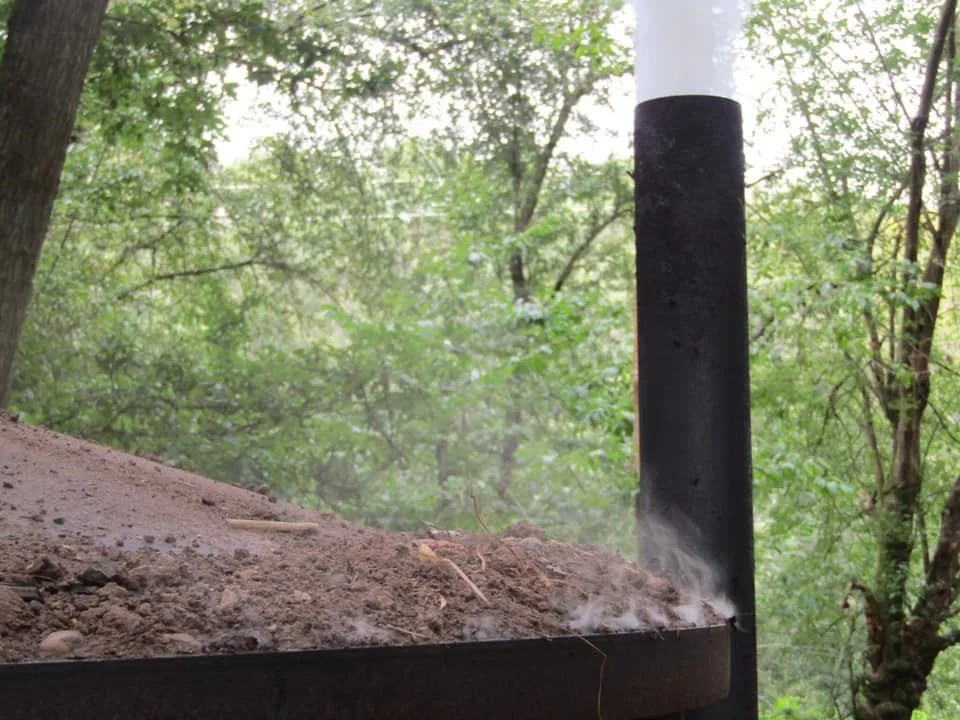
This is done by using soil or in this case old turves to pack in around the base of the kiln and also around the lid, ensuring the vents are kept open.

Now we wait until the smoke becomes clear and this tells us we can shut down the kiln. There are four chimney’s and each one will need closing down separately depending on wind direction and air flow.
It is now approximately a 12 hour wait until we can shut the kiln.
It is important to ensure heat is not allowed to escape as much as possible so we try and fill any gaps with soil.

It’s always exciting taking the lid off after two days of cooling to see how the charcoal has turned out. The charcoal is then emptied and put in bags.

When we can’t reach the rest, we tip the kiln on it’s side.

There will always be tiny bits of charcoal we can’t bag up with the rest. But it doesn’t go to waste. It can be used as bio char, a soil improver for the garden.

The charcoal all bagged and ready to be sold in our shop.